win10 Tensorflow Object Detection API配置
此文基于:数据集(PascalVOC).xml转.record
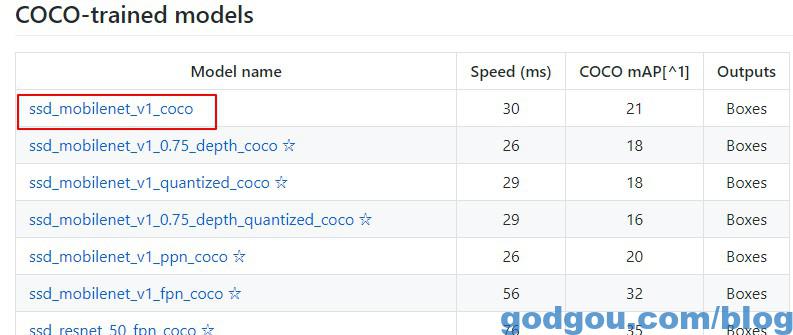
下载模型地址:https://github.com/tensorflow/models
下载Protobuf地址:https://github.com/google/protobuf/releases
解压添加到环境变量:
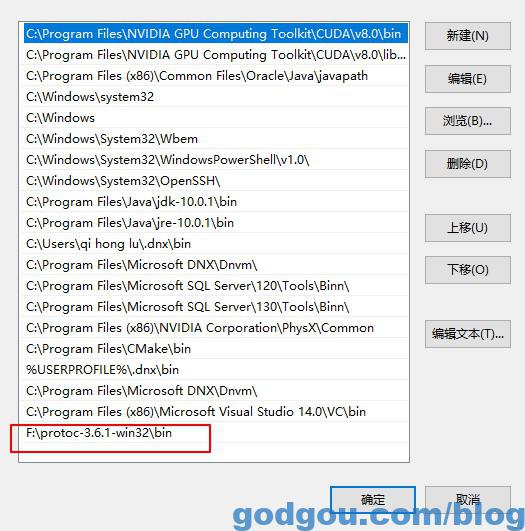
解压下载好的 models-master ,进入目录:models-master\research 执行命令:
|
1 |
protoc object_detection/protos/*.proto --python_out=. |
报错:object_detection/protos/*.proto: No such file or directory
解决方法有二:
1 . 用3.4.0版本即可 ,下载地址:https://github.com/google/protobuf/releases/tag/v3.4.0
2. shift+右键 的Windows powershell中使用以下命令可以全部编译:PS: CMD下无法使用该命令。
|
1 |
Get-ChildItem object_detection/protos/*.proto |Resolve-Path -Relative | %{protoc $_ --python_out=.} |
测试安装是否成功
同样在D:\TensorFlow\models-master\research路径下执行:
|
1 |
python object_detection/builders/model_builder_test.py |
如果出现以下现象,说明安装成功:
|
1 2 3 4 5 |
...................... ---------------------------------------------------------------------- Ran 22 tests in 0.353s OK |
如果出现以下现象:
|
1 2 3 4 |
Traceback (most recent call last): File "object_detection/builders/model_builder_test.py", line 23, in <module> from object_detection.builders import model_builder ModuleNotFoundError: No module named 'object_detection' |
解决的方法:
在C:\Users\用户名\Anaconda3\Lib\site-packages添加一个tensorflow_model.pth路径文件,
必须以.pth为后缀,写上你要加入的模块文件所在的目录路径。以我电脑为例:
D:\github\models-master\research
D:\github\models-master\research\slim
测试 Object Detection Demo
在\models-master\research\object_detection路径下执行命令:jupyter notebook
此时会在浏览器打开的一个界面,如果空白加载不出来择需要刷新:
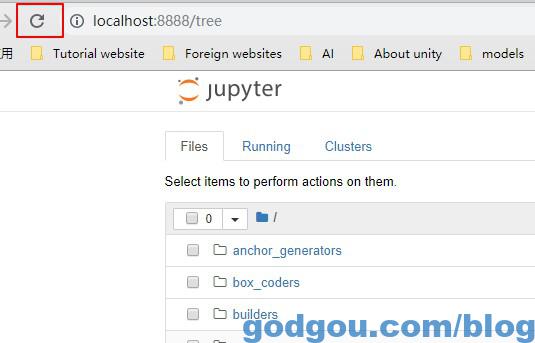
下滑找到object_detection_tutorial.ipynb文件,点击。
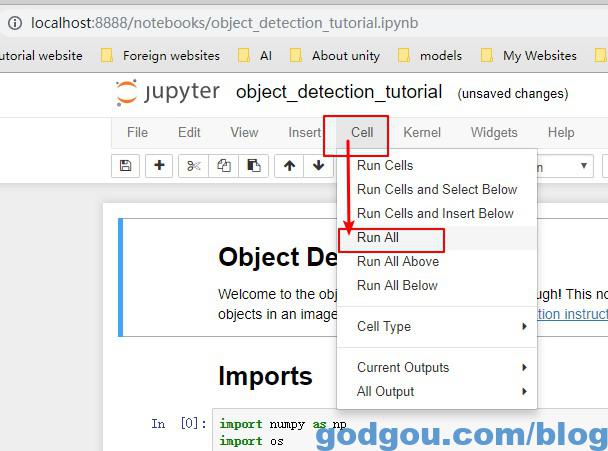
在打开的object_detection_tutorial.ipynb中找到cell然后运行Run All或者一条一条的运行,直到最后
如果报警告 :
|
1 2 3 |
This call to matplotlib.use() has no effect because the backend has already been chosen; matplotlib.use() must be called *before* pylab, matplotlib.pyplot, or matplotlib.backends is imported for the first time. |
解决:
原先的
|
1 2 3 4 5 6 7 8 9 10 11 12 13 14 15 16 17 18 19 20 21 22 23 |
import numpy as np import os import six.moves.urllib as urllib import sys import tarfile import tensorflow as tf import zipfile from distutils.version import StrictVersion from collections import defaultdict from io import StringIO from matplotlib import pyplot as plt from PIL import Image # This is needed since the notebook is stored in the object_detection folder. sys.path.append("..") from object_detection.utils import ops as utils_ops if StrictVersion(tf.__version__) < StrictVersion('1.9.0'): raise ImportError('Please upgrade your TensorFlow installation to v1.9.* or later!') from utils import label_map_util from utils import visualization_utils as vis_util |
修改之后 ->把“from matplotlib import pyplot as plt”这句放到最后
|
1 2 |
from utils import visualization_utils as vis_util from matplotlib import pyplot as plt |
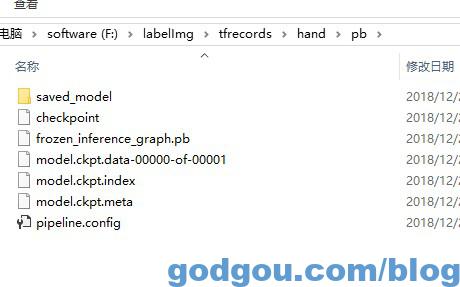
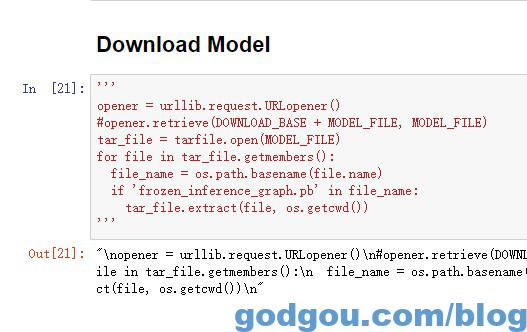
第一次运行需要下载模型
当模型下载完毕或我们用自己的模型时Models Download这块代码可以注释掉,否则可能会出现httperror
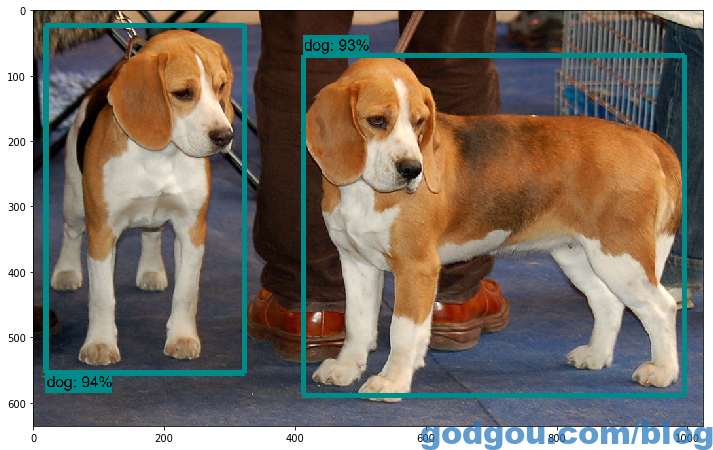
下面是识别出来的效果图。如果想更换,在object_tetection文件夹中的【test_images】文件夹中可以更改图片。
或者在源代码中修改图像存储的路径,改变【PATH_TO_TEST_IMAGES_DIR】 的路径,
要在models-master\object_detection目录下。相应的数量for i in range(1, 3)也要进行改变


.xml转.record")